Painting seems like a simple job. You pick up a roller, open a tin of paint and get started. But precisely because it seems so straightforward, it is easy to make mistakes. The result can be roller marks, stains showing through, peeling paint and walls that no longer look their best after just a few months. Here are six of the most common mistakes and some simple tips on how to avoid them.
Is the surface actually ready for painting?
Before opening your paint, check the condition of the wall. Old coatings, particularly limewash or poorly adhering paint layers, can cause the new paint to peel or flake off.
Rub your hand over the wall. If a lot of dust comes away on your palm or the old paint is flaking, the surface is not suitable for painting straight away. Remove any loose material, clean the surface and, if necessary, apply a suitable primer.
Do we really need to clean the walls first?
In short: yes. This is one of the steps most often overlooked. Dust, grease and other dirt prevent the new paint from adhering properly to the surface.
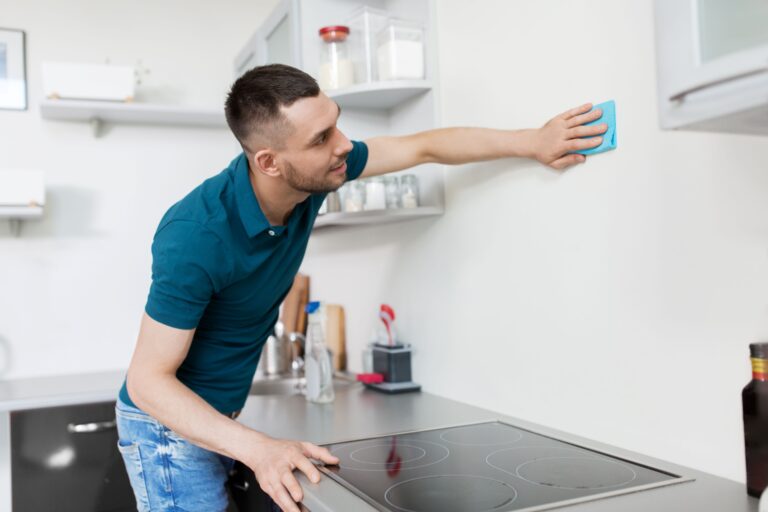
Wipe the walls down with a damp cloth, fill small holes with filler, sand the surface and remove all dust. Good preparation is often what makes the difference between an average result and a beautiful finish.
Why can you see every roller stroke?
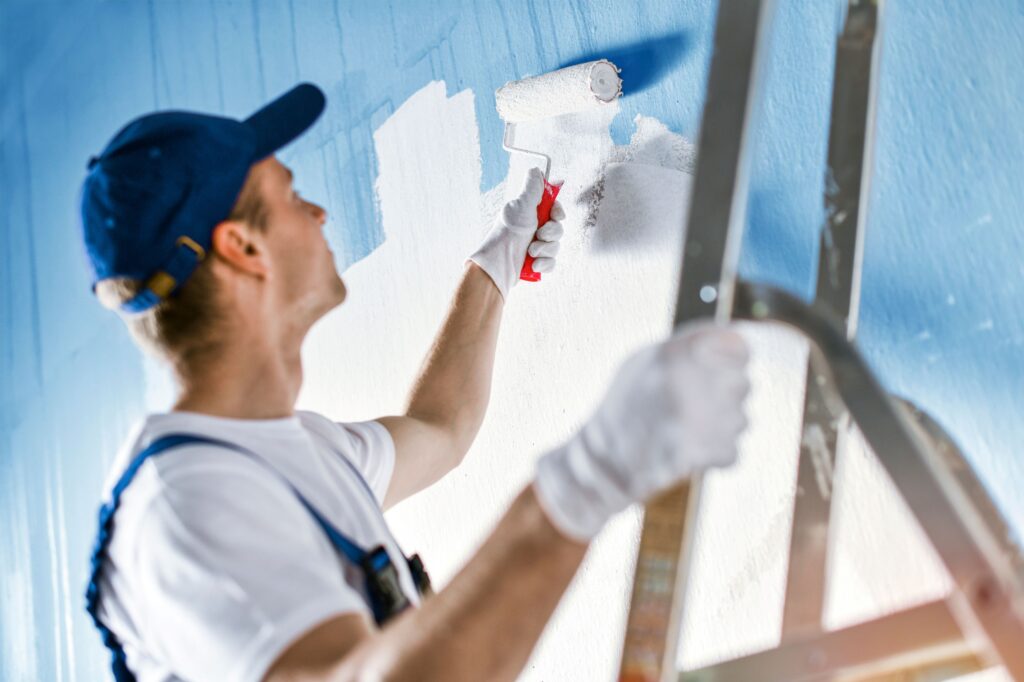
Because application technique matters more than you might think. If the edges dry while you are working or the paint is applied unevenly, visible lap marks can quickly appear on the wall.
Work in smaller sections. First spread the paint in a W or M pattern, then even it out with smooth vertical strokes. Blend each new section into the previous one while the paint is still wet.
How long should you wait between the first and second coats?
Follow the drying time stated on the packaging, usually between four and six hours. If you apply the second coat too soon, the paint may smear, adhere less effectively or dry unevenly.
Drying often takes longer in more humid rooms, so it is better to allow a little extra time and ventilate the room well.
How can we protect the floors and edges to avoid making a mess?
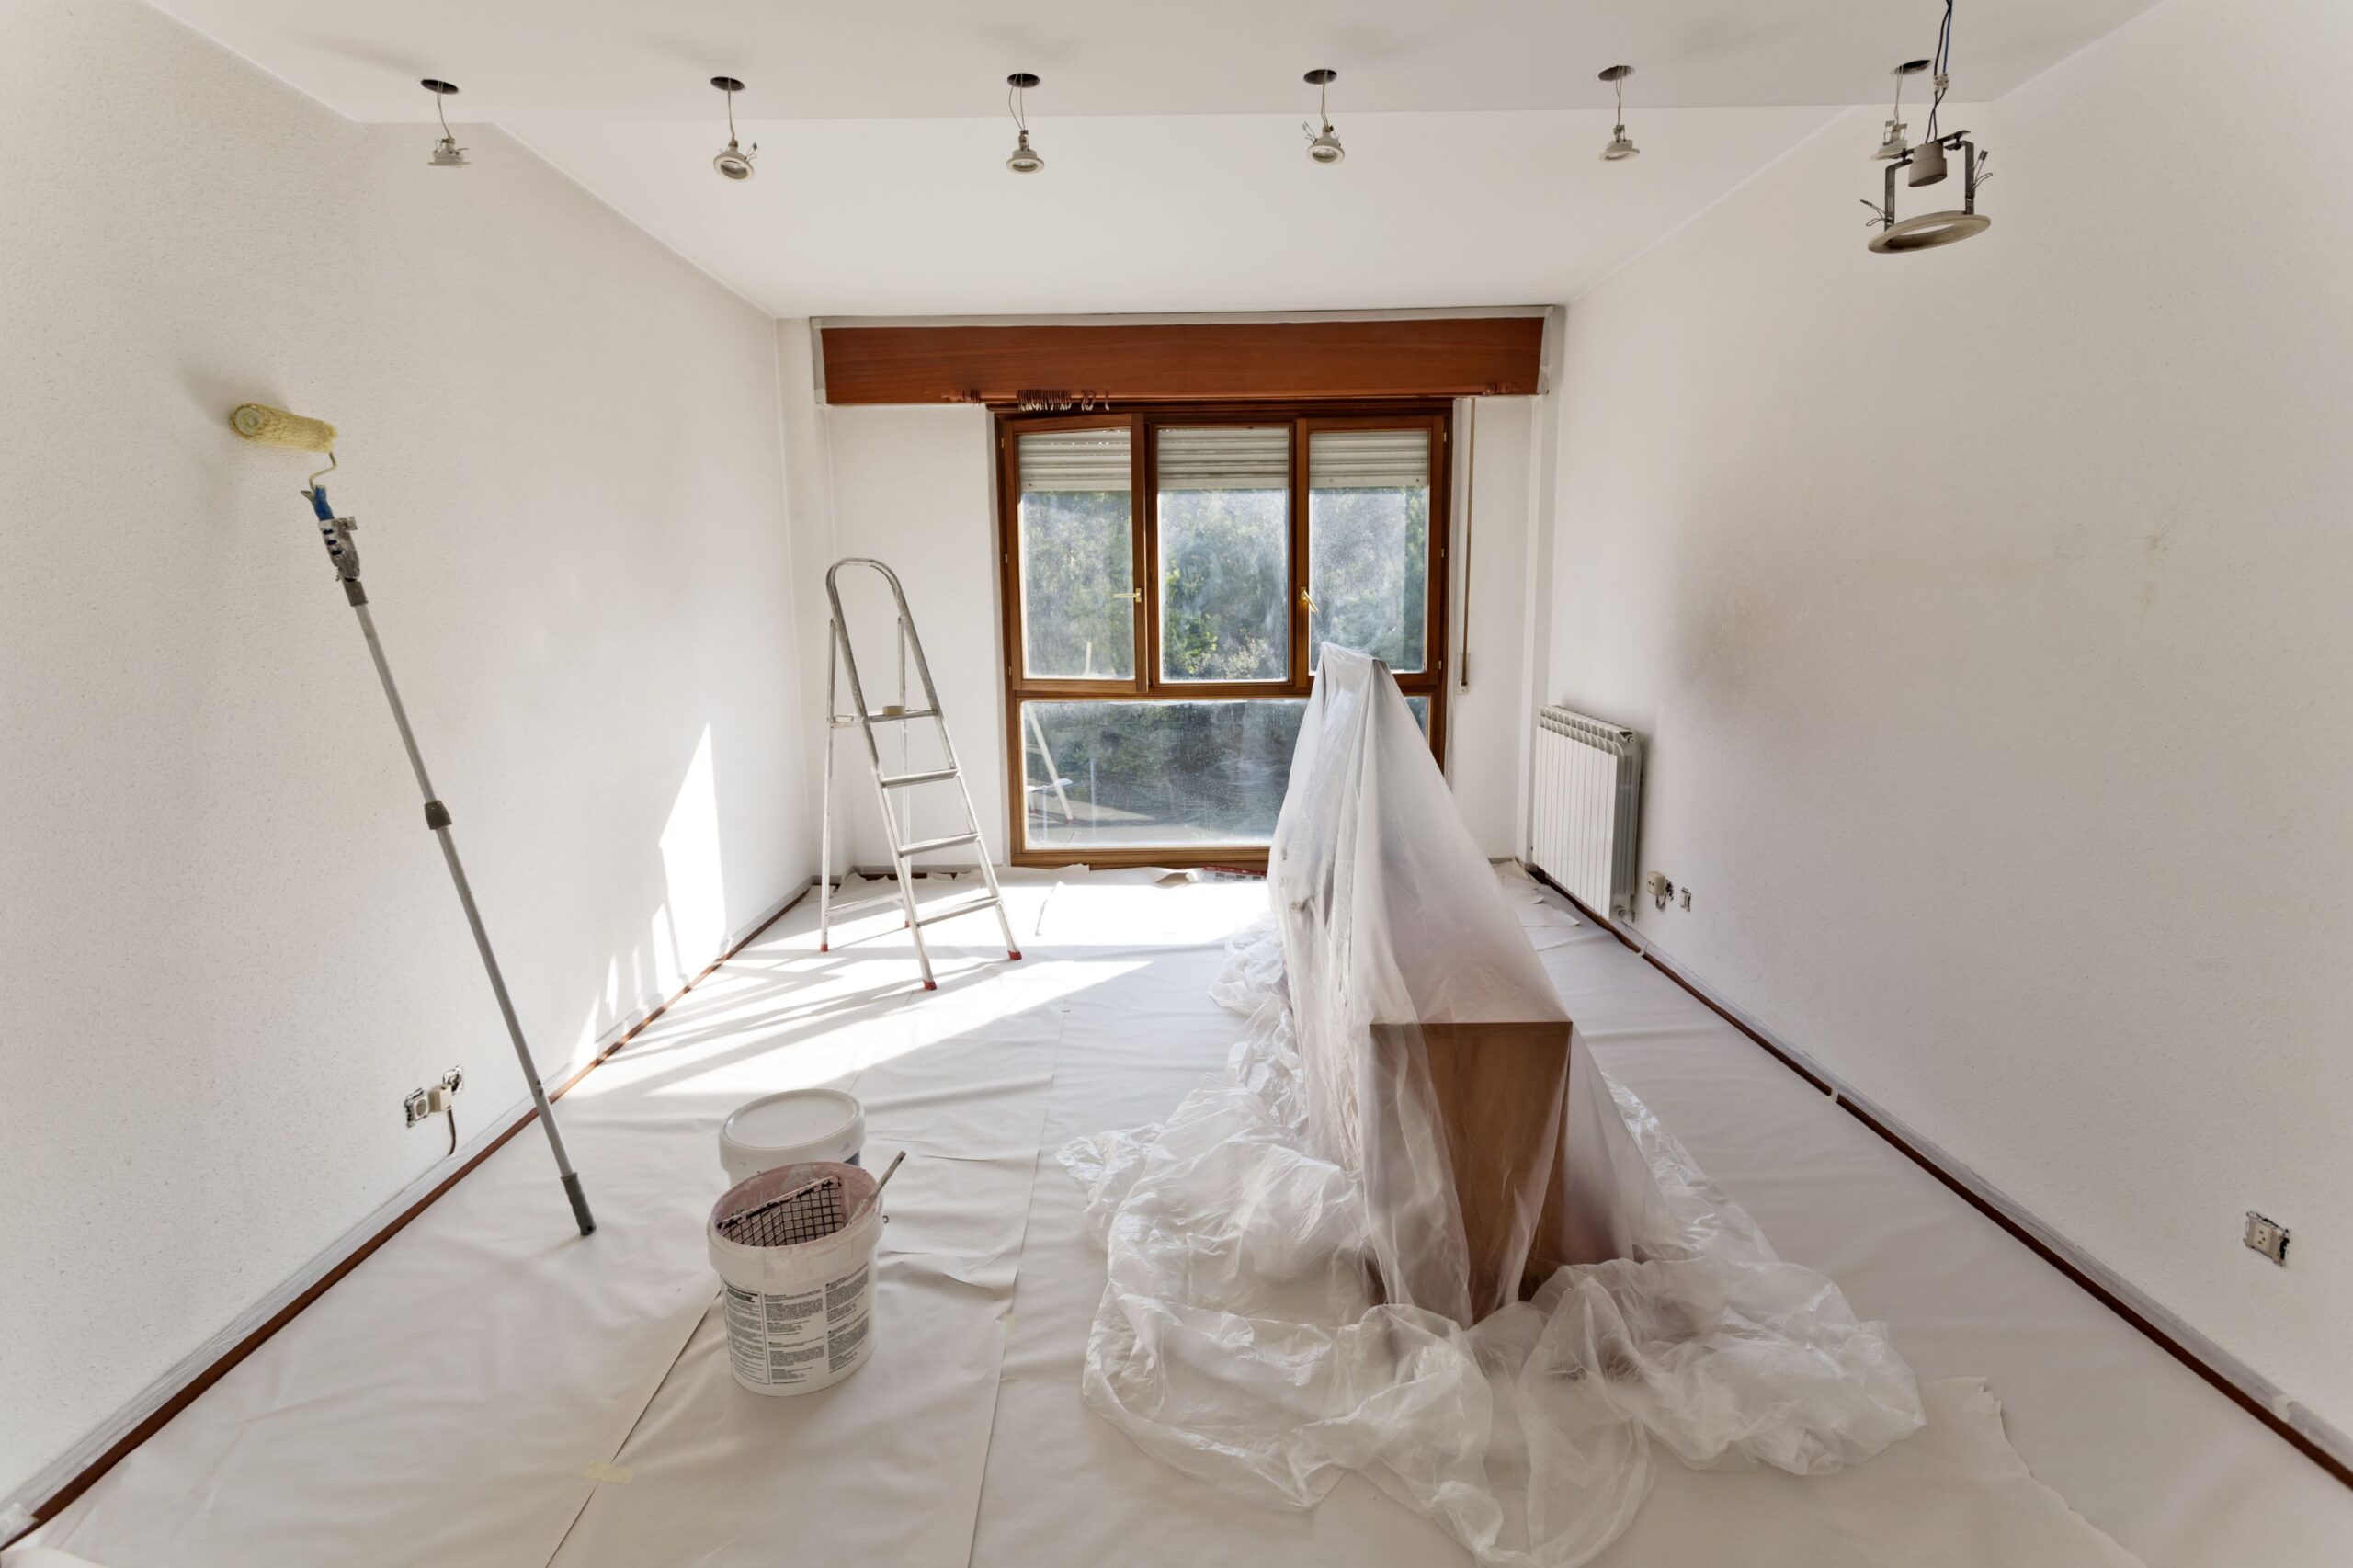
How can you protect floors and edges from paint splashes?
Many people rush this step or skip it altogether. The result is paint drops on the floor, stained door frames and uneven lines where the walls meet the ceiling.
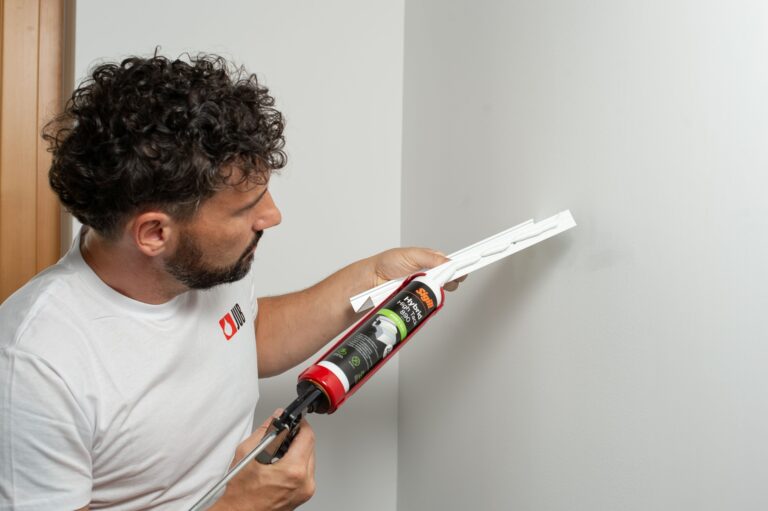
Before you start, cover the floor with protective sheeting or cardboard and protect the edges with good-quality painter’s masking tape. Cover or remove socket and switch covers. Remove the tape while the paint is still slightly damp; if it has dried completely, the paint may peel away with the tape.
Does it matter which paint and roller you choose?
Absolutely. Choosing the wrong materials can spoil even the most carefully executed painting job. Washable interior paints are a better choice for kitchens, bathrooms, hallways and children’s rooms, as they withstand cleaning better and retain their appearance for longer.
It is also worth investing in good tools. Cheaper rollers can shed fibres, distribute paint less evenly and make a uniform finish harder to achieve. A good-quality roller and brush are investments that quickly pay off.
Good preparation is half the job
A beautifully painted wall is not a matter of luck, but of proper preparation and technique. Check the surface, clean the walls, protect the room, use quality tools and allow enough drying time between coats. Your finished walls will look better, last longer and have a more professional finish.